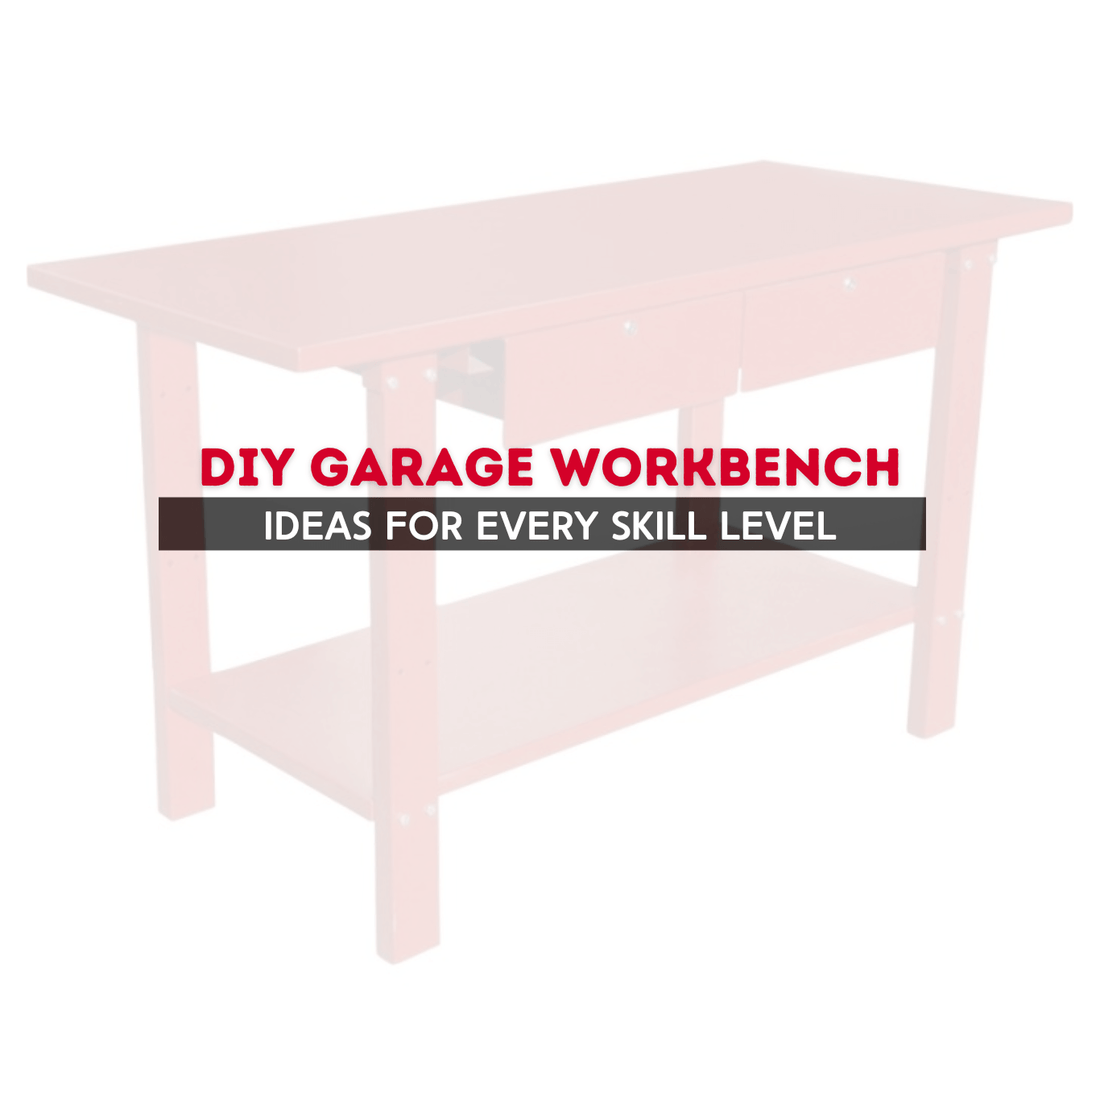
Whether you’re a seasoned pro or someone who occasionally mistakes a screwdriver for a chisel (we won’t tell), there’s a perfect workshop table for you. Around 77% of individuals say a well-organized workbench boosts their productivity. Transform your cluttered garage into a neat space, with all your tools within reach and a clear work surface ready for action.
Are you ready to build the ultimate DIY workbench that suits your skills and needs? Read on to explore practical ideas that will elevate your garage game and fill you with a sense of pride and accomplishment.
Level 1: Beginner's Basic Workbench
A simple, sturdy workbench is the perfect project for those just starting their woodworking journey. This basic workshop table requires minimal tools and materials, making it ideal for entry-level projects.
Materials Needed:
- 2x4 lumber
- Plywood sheet
- Screws
- Wood glue
Step-by-Step Guide:
- Cut the Lumber: Measure the 2x4s for the frame and legs.
- Assemble the Frame: Use wood glue and screws to construct the rectangular frame.
- Attach the Legs: Secure the legs to the frame, ensuring they are even and stable.
- Add the Work Surface: Attach the plywood sheet to the top of the frame, securing it with screws.
Starting simple ensures you build confidence while creating a functional piece for your garage.

Level 2: Intermediate Workbench
If you have some woodworking experience, this intermediate workshop table offers additional features, such as shelves and a pegboard for tool storage, enhancing its functionality.
Materials Needed:
- 2x4 lumber
- Plywood sheets
- Screws
- Pegboard
- Wood glue
Step-by-Step Guide:
- Construct the Frame: Build a sturdy frame using 2x4s.
- Install the Work Surface: Secure a plywood sheet on the frame.
- Add Shelves: Install lower shelves using plywood, ensuring they are well-supported.
- Mount the Pegboard: Attach the pegboard to the back of the workshop table for easy tool access.
An intermediate bench offers enhanced storage solutions while still being manageable to build.

Level 3: Advanced Workbench
For seasoned DIYers, this advanced workbench includes a solid hardwood top and built-in storage drawers, providing a durable and highly functional workspace.
Materials Needed:
- Hardwood for the top
- 2x4 lumber
- Drawer slides
- Plywood
- Screws
- Wood glue
Step-by-Step Guide:
- Build the Frame: Construct a robust frame using 2x4s.
- Install the Hardwood Top: Secure the hardwood top to the frame with wood glue and screws.
- Add Drawers: Construct and install storage drawers using plywood and drawer slides.
- Finishing Touches: Sand and finish the workbench to enhance durability and aesthetics.
An advanced workshop table combines durability with extensive storage, perfect for serious projects.

Space-Saving Workbench
For those with limited space, a foldable or mobile workbench can be a game-changer. It provides the functionality of a full-size bench without taking up permanent space, giving you the freedom to work in a space that suits you best.
Materials Needed:
- Plywood
- Hinges
- Caster wheels
- 2x4 lumber
- Screws
- Wood glue
Step-by-Step Guide:
- Construct the Foldable Frame: Build a frame that can fold against the wall when not in use.
- Install Hinges: Attach hinges to allow the workbench to fold up and down.
- Add Caster Wheels: Install wheels for a mobile version, allowing you to move the workbench as needed.
- Secure the Work Surface: Attach a sturdy plywood sheet to the frame, ensuring it is stable both in use and when folded.
A space-saving bench is ideal for maximizing utility in compact garages.

Customizing Your Workbench
No workbench is complete without personal touches that cater to your specific needs. Consider adding power strips, tool organizers, or a vise to enhance your workspace.
Customization Ideas:
- Power Strips: Install power strips for easy access to electricity.
- Tool Organizers: Use bins, hooks, and magnetic strips to organize tools.
- Vise Installation: Add a vise to hold materials securely during work.
Customization ensures your workshop table meets all your specific project needs.

Ready, Set, and Build with Ace Garage Storage
These step-by-step guides can help you create a workbench that suits your skill level and workspace perfectly. From simple designs to advanced setups, each project provides the foundation for a functional and personalized garage workspace.
At Ace Garage Storage, we pride ourselves on providing top-quality products that withstand the test of time. Our industrial-grade workbench units are durable, high-performing, and easy to assemble, smoothing your DIY journey.
Contact us at info@acegaragestorage.com or (844) 900-0067 to explore our range of workbenches and find the perfect fit for your garage.

